
How to paint textured walls starts with understanding the surface before choosing a roller or opening the paint. Texture creates high spots, recesses, shadows, and repaired areas that can take paint differently from a smooth wall.
The goal is not to bury the pattern under extra material. It is to get even coverage across the raised and recessed areas while keeping the original texture readable. That takes careful prep, the right applicator for the texture, and enough patience to judge coverage after each coat dries.
Start by Reading the Texture
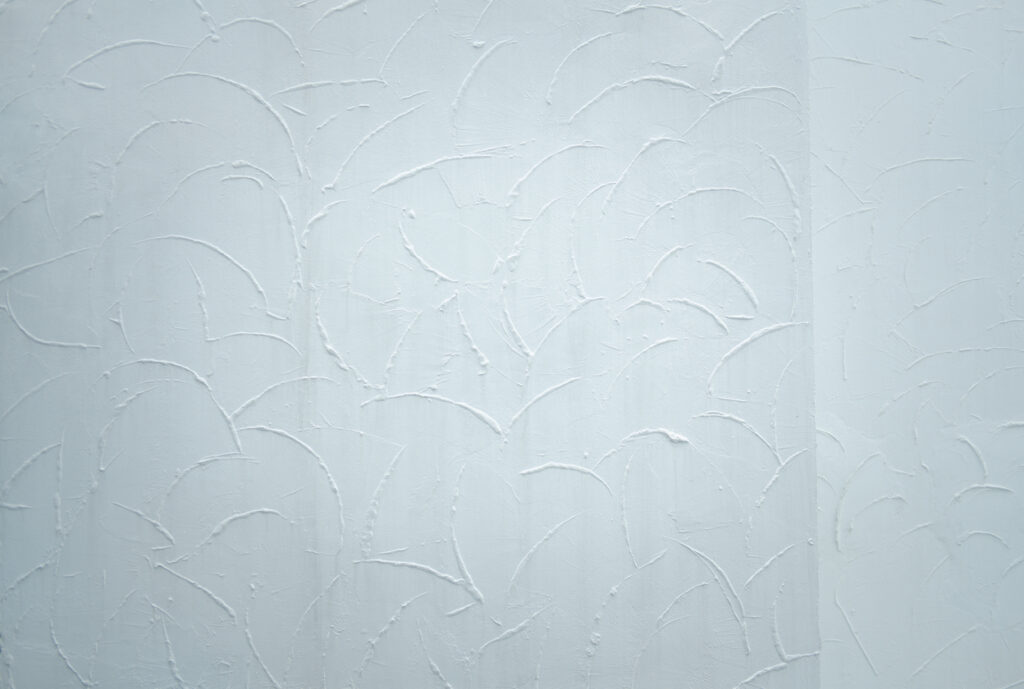
Before you pick a roller, look closely at the wall. Light orange peel, knockdown, skip trowel, heavy hand-applied texture, and repaired patches do not all need the same application method.
Check how deep the recesses are, how sharp the raised areas feel, and if previous coats have already softened the pattern. Also look for flat repair spots, loose material, cracks, stains, or areas where the texture is separating from the wall.
This first inspection tells you if the project is mainly a repaint or if texture repair needs to happen before color goes on.
Repair the Pattern Before You Repair the Color
A smooth patch in the middle of a textured wall can remain visible after painting because light hits the repaired area differently. The repair needs to match the surrounding texture closely enough that the finish coat does not highlight the transition.
Use a repair material and texture method that fits the existing surface. Do not sand across the surrounding texture simply to make the patch feel flat.
If sanding is needed on the repair itself, keep it controlled and avoid removing the neighboring pattern. The goal is to blend the repair into the wall, not turn a textured section into a smooth spot.
Clean the Recesses Without Damaging the Surface
Dust can settle into the low areas of textured walls, especially near ceilings, vents, baseboards, and corners. Paint applied over loose dust can leave rough spots or weak areas in the new finish.
Use a cleaning method that is safe for the existing coating and texture. Vacuuming with a soft brush attachment or using a clean microfiber tool may be appropriate for some surfaces, while greasy or stained areas can need more cleaning.
Let the wall dry before moving into repair, primer, or paint.
Prime the Areas That Need It
Textured walls do not automatically need full-wall primer every time they are repainted. Primer needs depend on the substrate, repairs, stains, porosity, existing coating, and the finish system being used.
Fresh drywall compound, new texture, bare material, stains, or large repaired areas may need a compatible primer so the finish coat does not absorb unevenly.
Follow the primer and finish-paint instructions rather than assuming every textured wall needs the same primer or number of coats.
Choose the Roller Cover by Texture Depth
Roller nap is the fiber length on the roller cover. A cover that is too short may bridge over deeper recesses, while one that carries more paint than the surface needs can leave buildup in low areas.
Do not rely on one universal nap chart for every textured wall. Texture depth, coating thickness, roller-cover material, and the manufacturer’s recommendations all affect the choice.
Start with the shortest roller cover that can reach the texture consistently, then test a small area before committing to the full wall.
Use the Roller Without Flooding the Texture
Load the roller evenly and apply enough material to reach the surface without forcing a heavy coat into every recess. Excess pressure can squeeze paint out of the cover and leave uneven buildup across raised areas.
Work in manageable sections so adjacent passes can blend before the coating begins to set. The exact rolling pattern matters less than maintaining even distribution and following the product’s spreading guidance.
If a deep recess is still missed, use a brush or smaller tool to place paint into that area instead of repeatedly overloading the entire wall.
Check the Wall From More Than One Angle
Texture creates shadows, so coverage can look complete from one position and thin from another. After a section is coated, look across the wall from the side and under the room’s normal lighting.
Pay attention to recessed spots that still show the old color, raised areas with heavy buildup, and repaired sections that reflect light differently.
Wait until the coating has dried as directed before deciding if another coat is needed. Wet paint can hide coverage differences that become easier to see after drying.
Do Not Use a Fixed Coat Count
Some textured walls cover well with the coating system already specified for the project. Others need another coat because of color change, porosity, repairs, uneven absorption, or missed recesses.
Two coats should not be treated as a universal minimum, and a third coat should not be added automatically. Use the product instructions and the actual dried coverage to decide what the wall needs.
If repeated coats are required just to hide uneven areas, stop and check the preparation, primer, applicator, and application method before adding more material.
Choose Sheen Based on the Room and the Texture
Higher-sheen coatings can make peaks, valleys, repairs, and surface changes more visible because they reflect more light. Lower-sheen products may make texture appear softer, but sheen alone should not decide the coating.
Consider cleaning needs, moisture exposure, room use, lighting, the condition of the texture, and the manufacturer’s approved applications.
Ed Wade Painting’s guide to eggshell versus semi-gloss paint explains how finish level changes appearance and maintenance.
Know When More Paint Is Starting to Hide the Pattern
Old textured walls may already have several layers of coating. Adding more paint can soften sharp edges and fill shallow recesses over time.
If the texture looks noticeably flatter after a test area dries, the answer may not be another heavier coat. Review the roller choice, film thickness, and application method first.
For walls with mixed smooth and textured areas, Ed Wade Painting’s guide to smooth interior paint finishes helps explain why the preparation and application methods differ.
Indoor Painting Safety During the Project
Follow the safety directions on the paint, primer, cleaner, patching compound, and any texture product used indoors. Ventilate the room as directed and use any protective equipment listed by the manufacturer.
The EPA recommends providing plenty of fresh air during painting and remodeling when products may release volatile organic compounds.
Interior Painting With Ed Wade Painting
Ed Wade Painting is a locally owned painting company based in Foley and serving Fairhope, Daphne, Orange Beach, Gulf Shores, Mobile, Pensacola, Fort Walton Beach, and surrounding Gulf Coast communities.
Current company information lists 50 years of combined team experience, licensed and insured service, free estimates, virtual and phone estimates, free color consultations, daily communication, screened painters, furniture and carpet protection, and complete cleanup.
Ed Wade Painting provides interior painting services for walls, trim, ceilings, built-ins, and accent walls. The company’s current published five-year warranty applies to exterior painting, so interior warranty terms should be confirmed for the specific project during the estimate.
Frequently Asked Questions About Painting Textured Walls
What roller should I use to paint textured walls?
Choose a roller cover that reaches the depth of the texture without carrying more paint than the surface needs. Test a small section first because texture depth and coating type can change the best choice.
Do textured walls always need primer?
No. Primer depends on the substrate, repairs, stains, porosity, and coating system. New texture and bare repairs often need primer, while a sound previously painted surface may not need a full primer coat.
How many coats of paint do textured walls need?
There is no universal count. Follow the product instructions and judge the dried coverage after each coat instead of adding coats automatically.
Can I sand a textured wall before painting?
Sand only where the repair or surface condition calls for it and avoid flattening the surrounding pattern. Texture repairs should blend with the existing wall rather than creating smooth patches.
What paint sheen is best for textured walls?
The best sheen depends on room use, cleaning needs, lighting, moisture, and how much texture you want to see. Higher sheen generally makes surface variation more noticeable.